Why I shoot film, and how you can start
“Photography is a way of feeling, of touching, of loving. What you have caught on film is captured forever... It remembers little things, long after you have forgotten everything”
Injera baking in Sodo, Ethiopia. (Film: Kodak Portra 400 35mm)
Back in Ethiopia in the fall of 2022 while leaving my cousin's housekeepers home (she hosted us all for lunch) someone asked me why I shoot with film photography instead of using a digital camera. And I gave an answer I was content with at the time. But now, lying low in Chiang Mai, Thailand debating about going on a photography trip to California, I thought today about going back to digital. A temporary thought, but it did creep in. Because film can be a lot of work at times. It requires so much more patience. There is so much more uncertainty of what will be captured than with digital. With digital cameras, you can look at the screen and immediately see the result, then iterate towards your vision for a captivating image. And upload, and duplicate it right away. Digital also writes to a memory card, and the images can be erased and written over and over. Not so with film. Because with film behind the lens instead of a digital sensor, is the actual film, and each press of the shutter allows photons into the camera for a fraction of a second and then freezes in place little crystals inside the film. The result is fixed. Permanent. And magical.
Me as a child in Michigan (Film: unknown)
By comparison, digital feels too empty, ambiguous, and just lacks the satisfying payoff of film. Digital is too easy. Digital cameras are super modern with technology that basically does all the creative work, leaving the human to push a button. And allows, even encourages, editing and manipulation of the photo which to me distorts and perverts reality in an unhealthy manner because it cherishes the unobtainable fantasy. To use fishing as a metaphor, shooting on digital is like fishing with a gigantic trawling net behind a boat. You can scoop up just about anything you want, and get a lot of what you don’t want as well. Shooting on film, I feel like the old man from Hemingways’ “Old Man And The Sea.” I might go long periods without a satisfying catch, but I’m after a species that won’t allow itself to be caught in some net with the detritus.
To shoot with film is to impose limitations on oneself – to be mindful of the finite nature of things, to carefully consider each shot before pressing the shutter, to embrace the imperfections and unpredictability of the process. To strive for meaning with a medium. In our world where excess and superfluity are unavoidable, film photography allows us to be intentional, to appreciate the value of the process over the just the result - because there is a process in film that doesn’t exist with digital.
Meskel celebration in Hana, Ethiopia (Film: Kodak Portra 400 35mm)
If you’re looking to get started shooting on film, here are recommended cameras and some tips:
Start with a simple camera. You don't need a fancy or expensive camera to get started with film photography. In fact, a simple, fully manual camera can help you learn the basics of exposure and composition without being overwhelmed by too many features. Film cameras here have a massive benefit over digital – the camera bodies are much cheaper with a wide range of lenses to choose from.
Cameras
The Kodak Ektar H35: It’s half frame, double the fun. A roll of 36 exposure film will yield 72 shots! Allowing one more opportunities to practice. And there are no settings on the camera, so it’s purely about learning composition and getting familiar with the film process – especially if you’re going to develop film on your own.
The Minolta x-700 or x-370: A SLR camera from the 1980s. Aperture priority, which means as you adjust the depth of field of what is in focus, the camera adjusts automatically the correct shutter speed. A great way to learn exposure! And these cameras can be had CHEAP. Don’t be afraid to get one that is a bit busted up if you’re starting out. Typically paired with a 50 mm lens, which is quite versatile for both portraits and some landscape photography.
Here’s some photos I took on the Mintolta x-370:
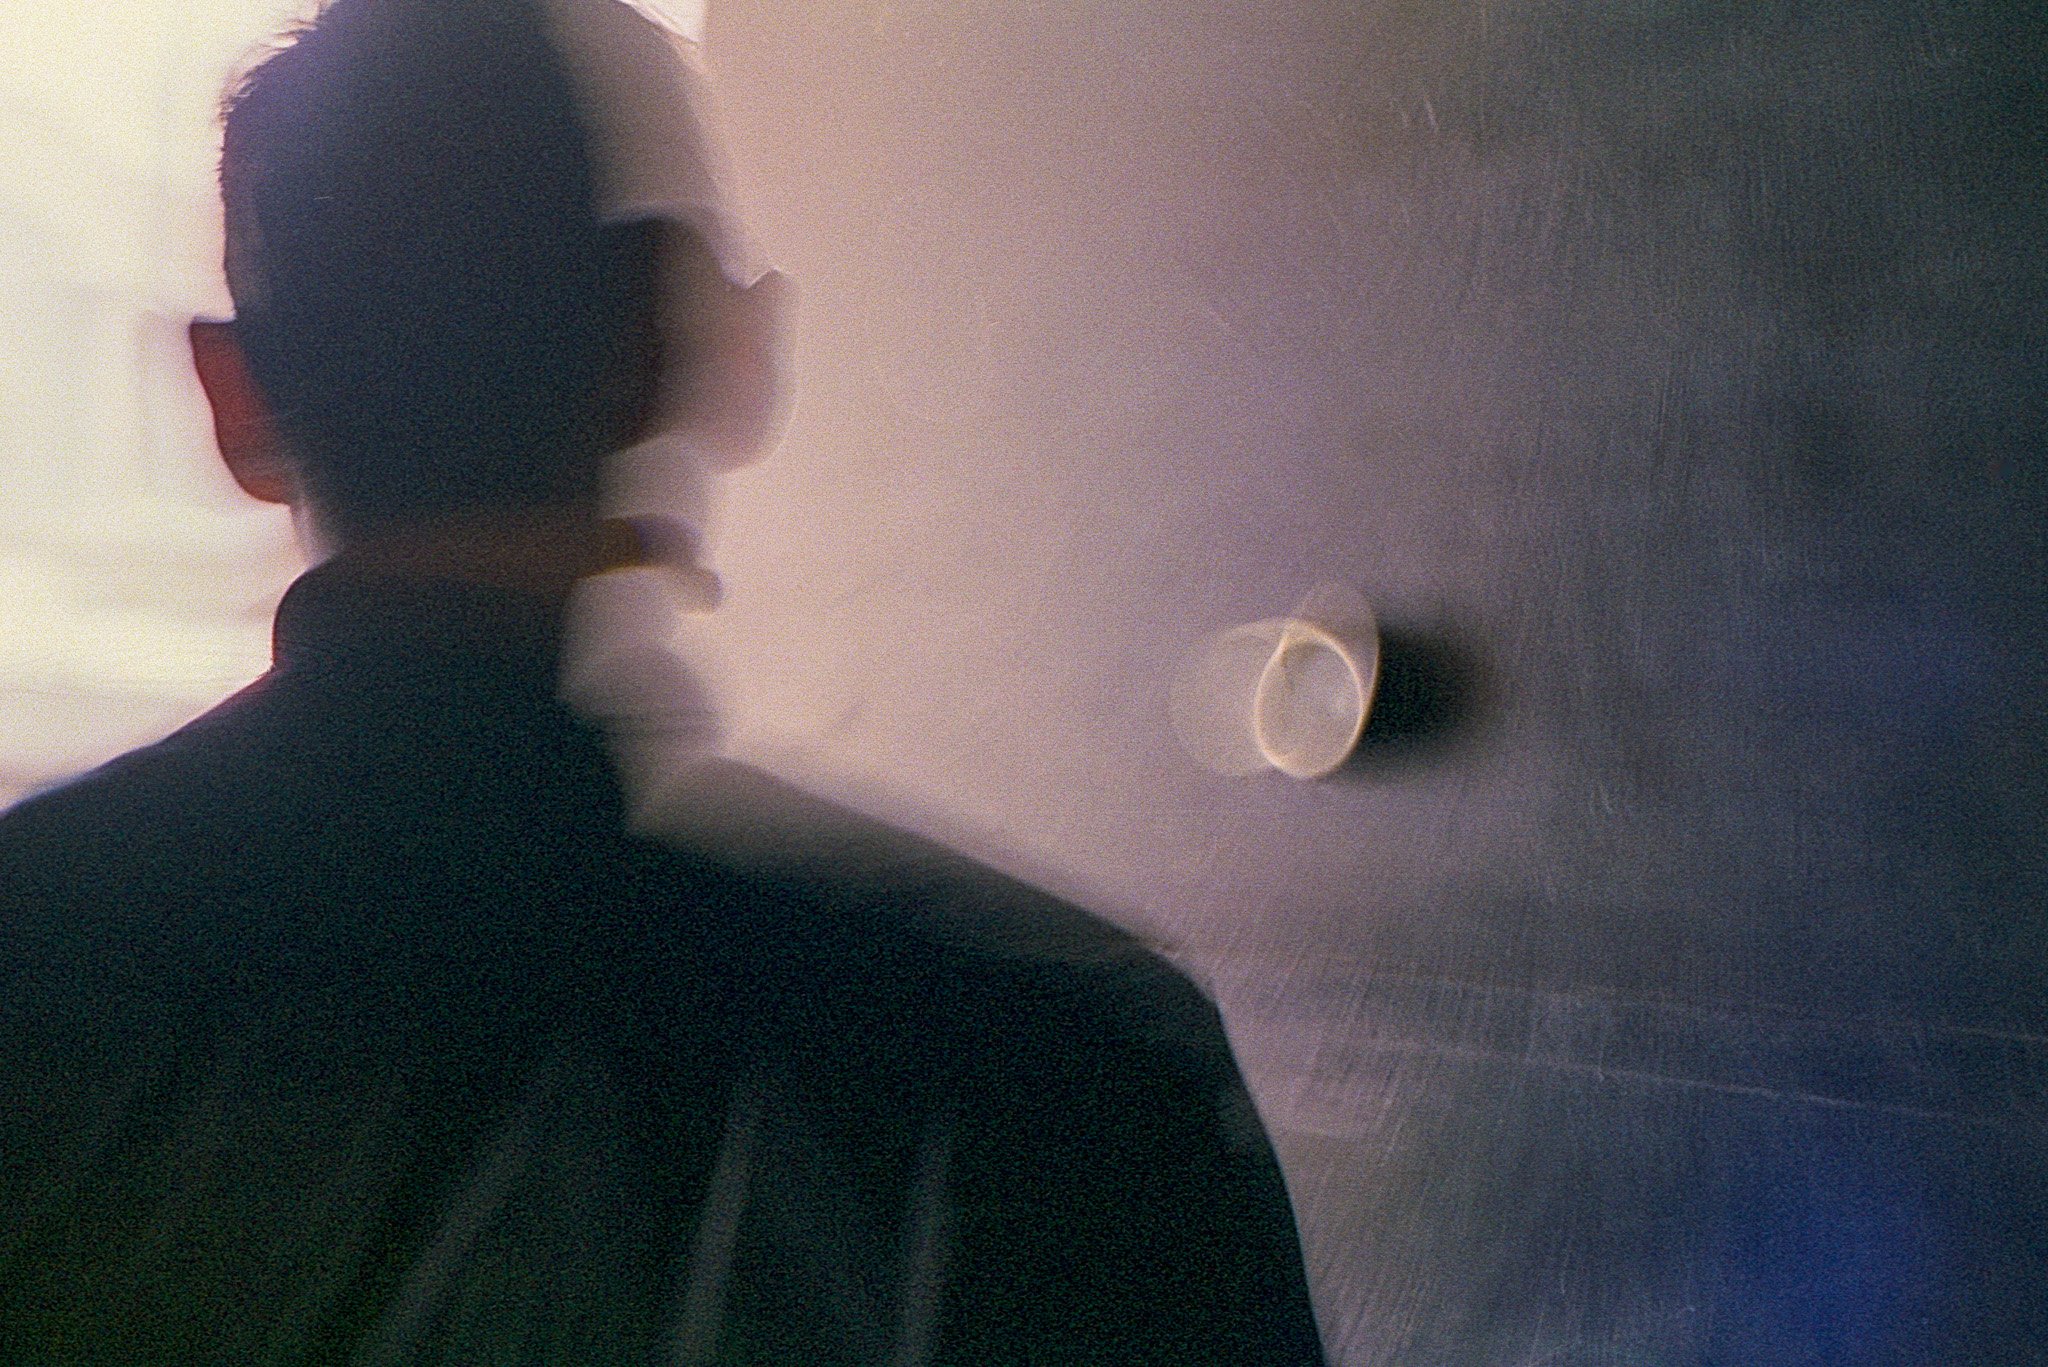
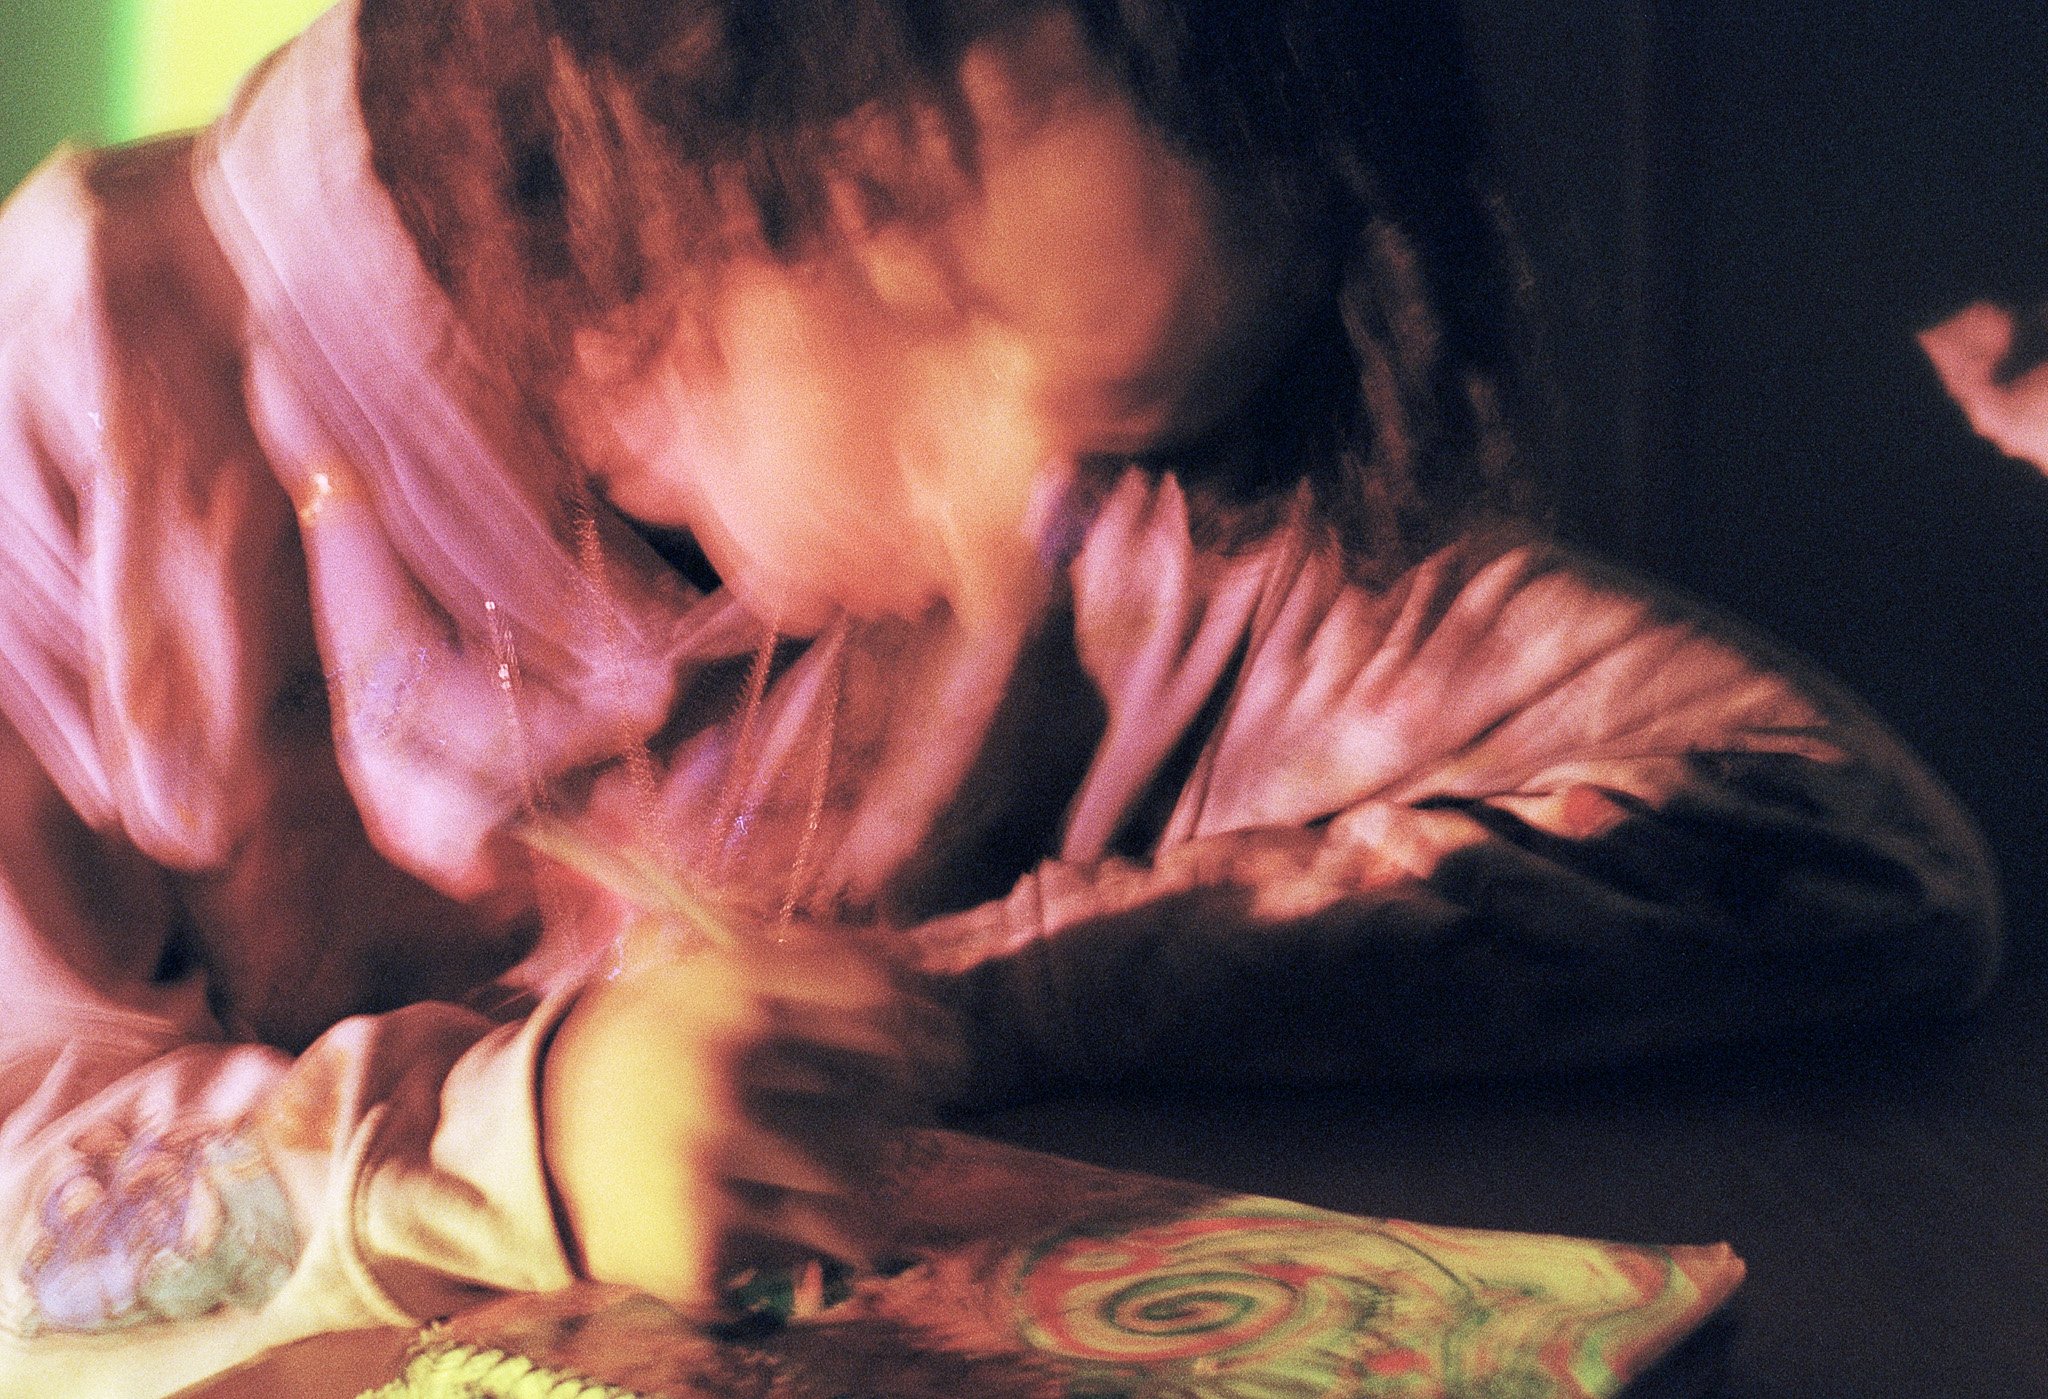
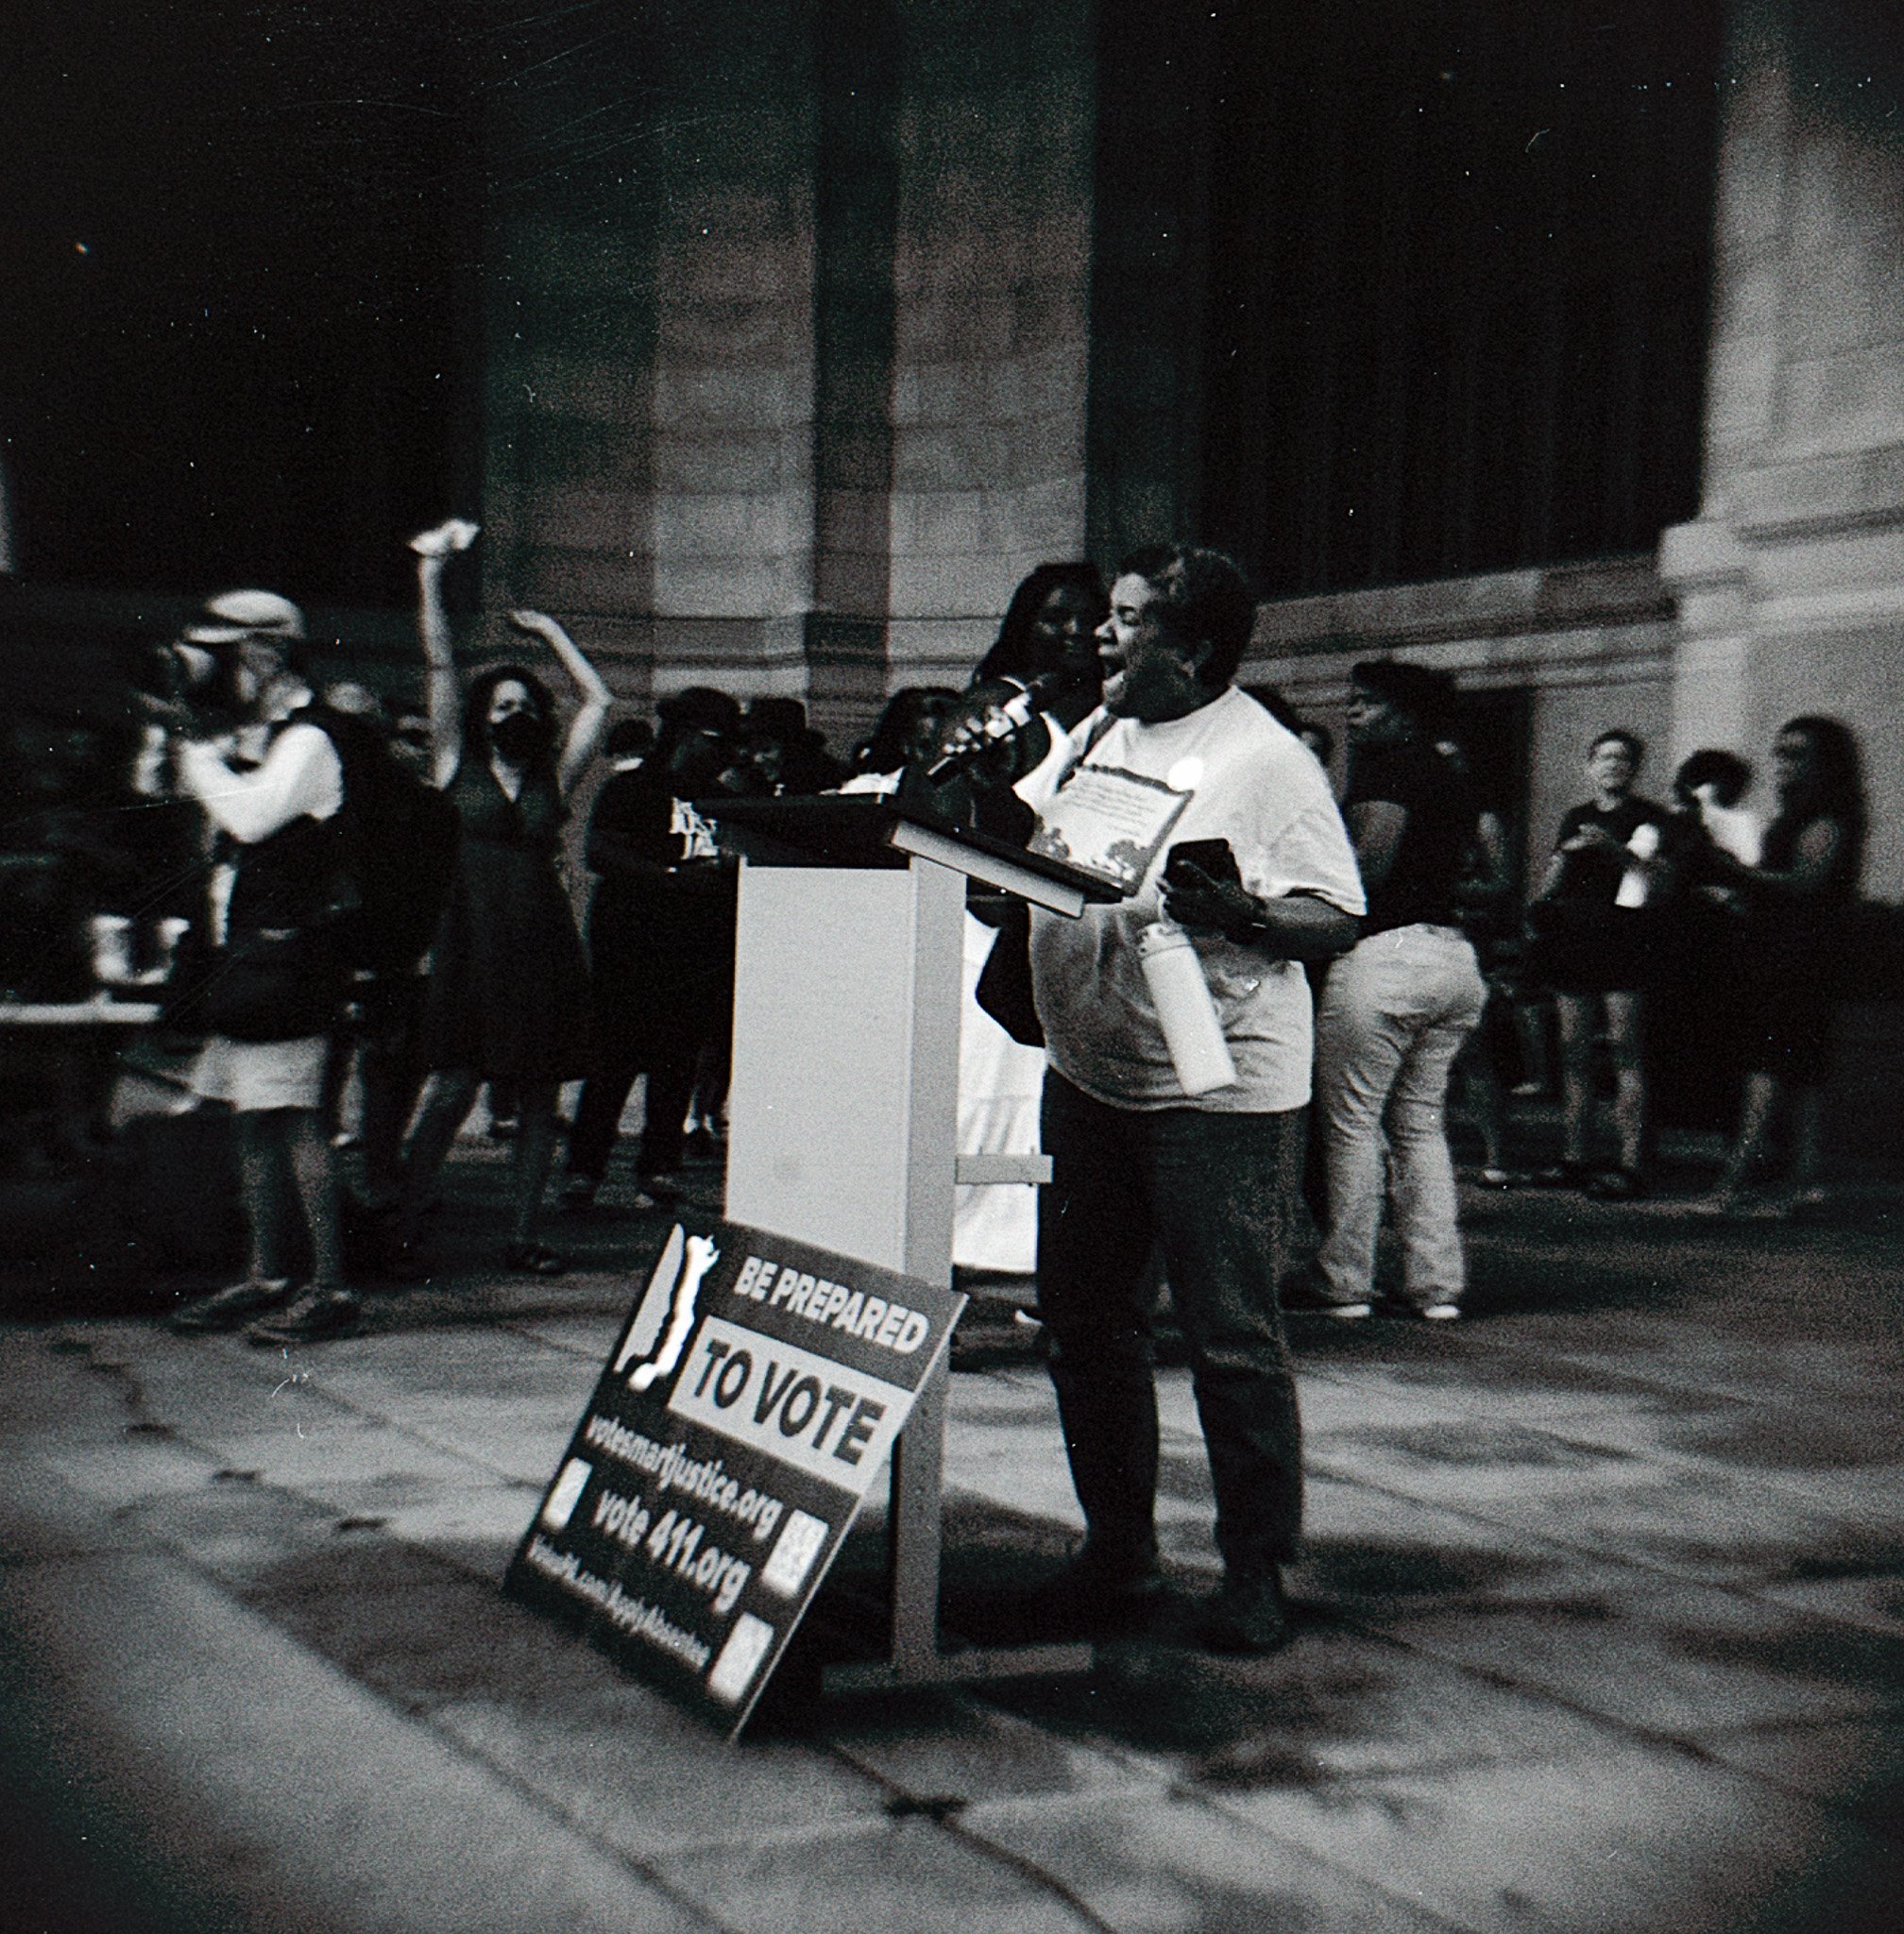
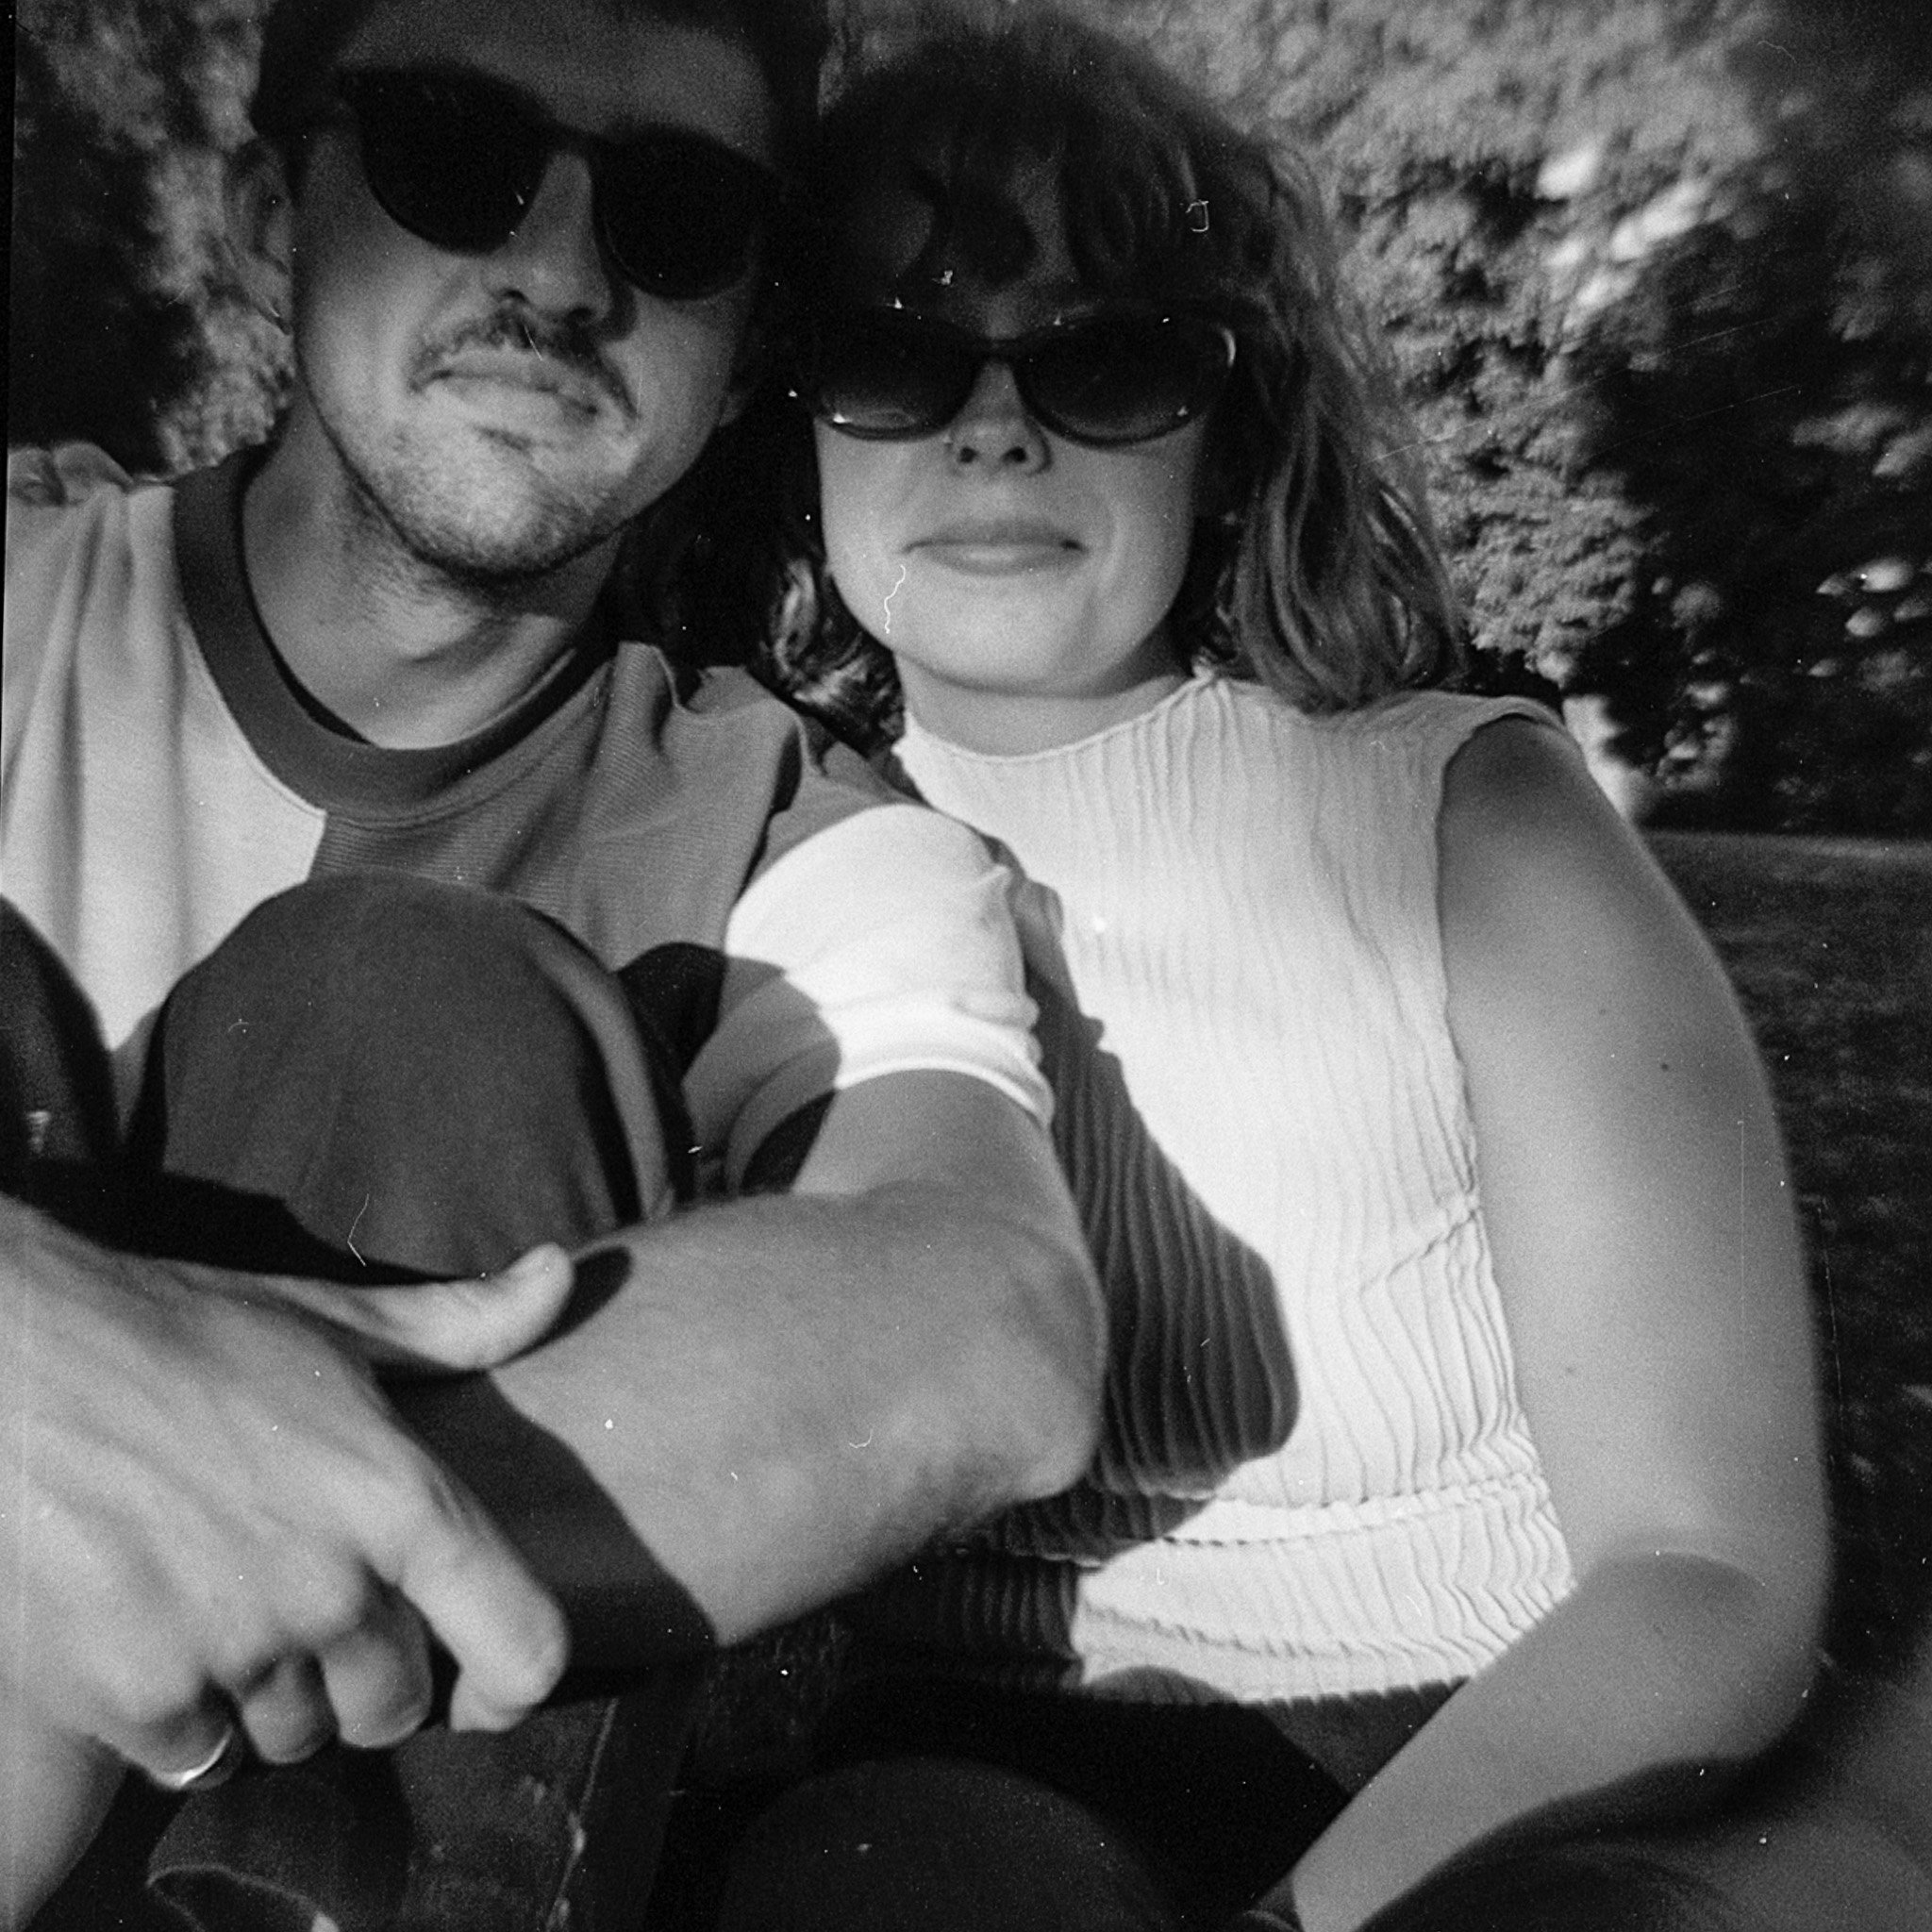
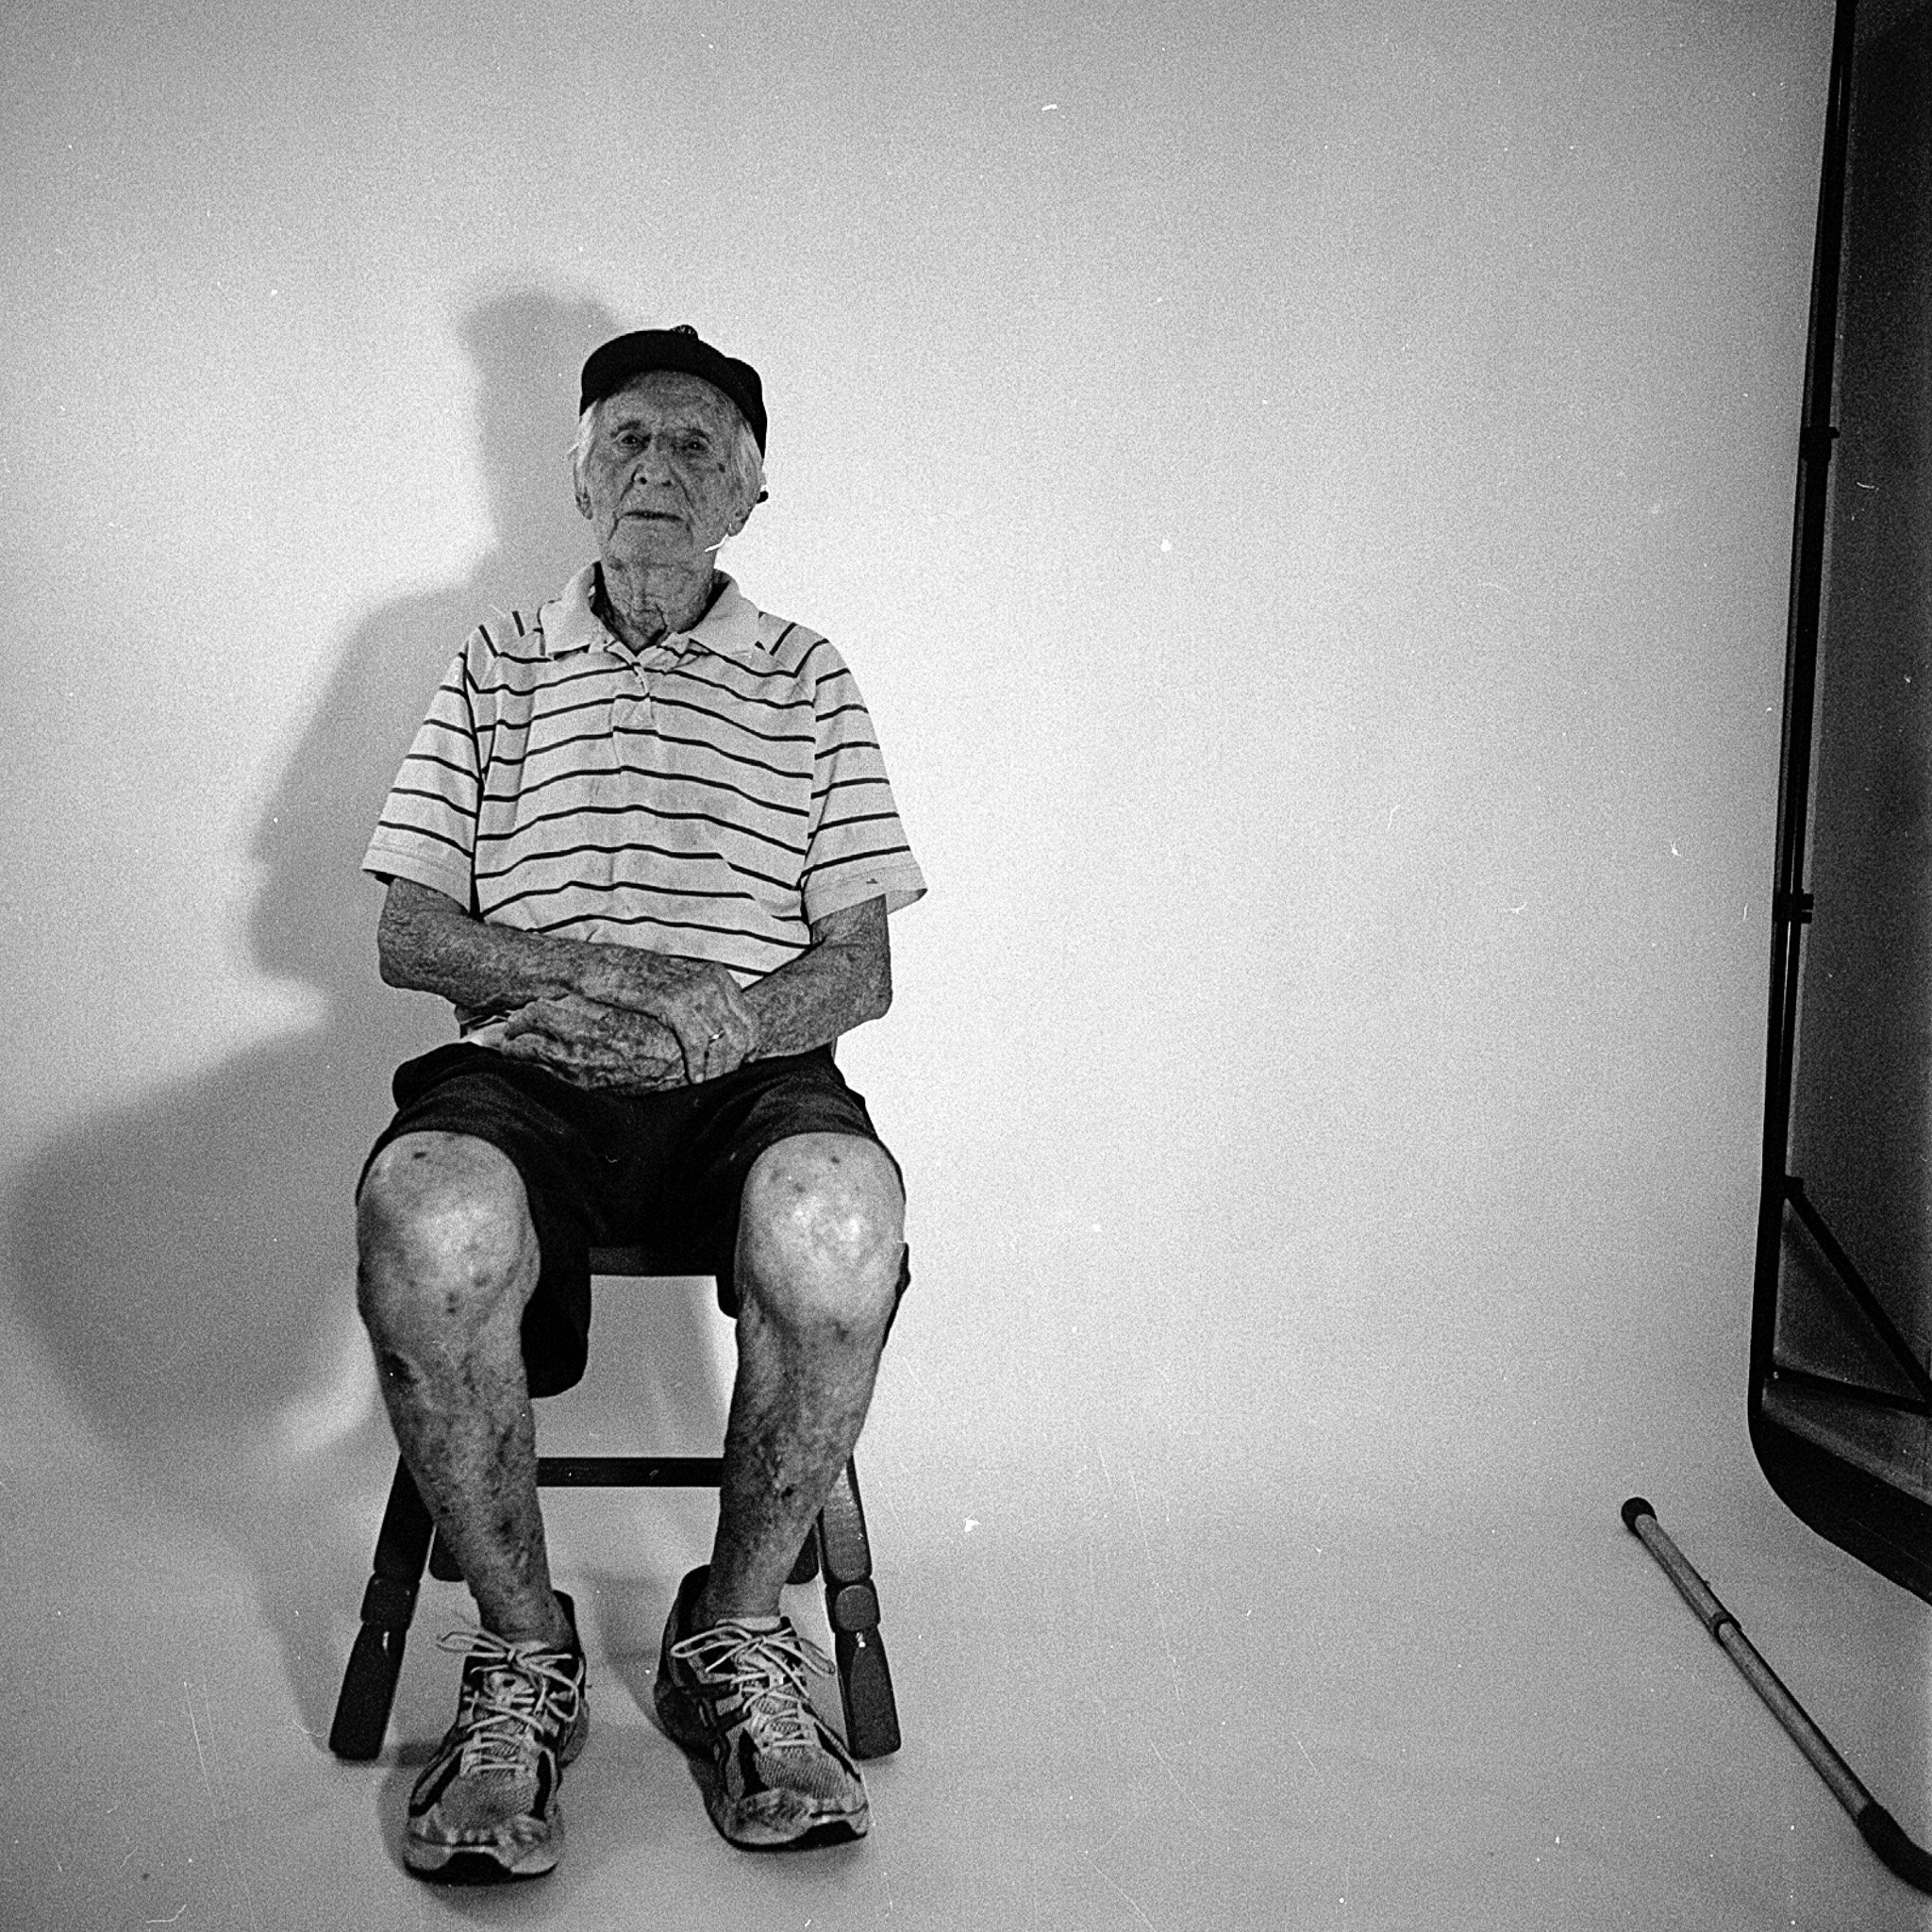
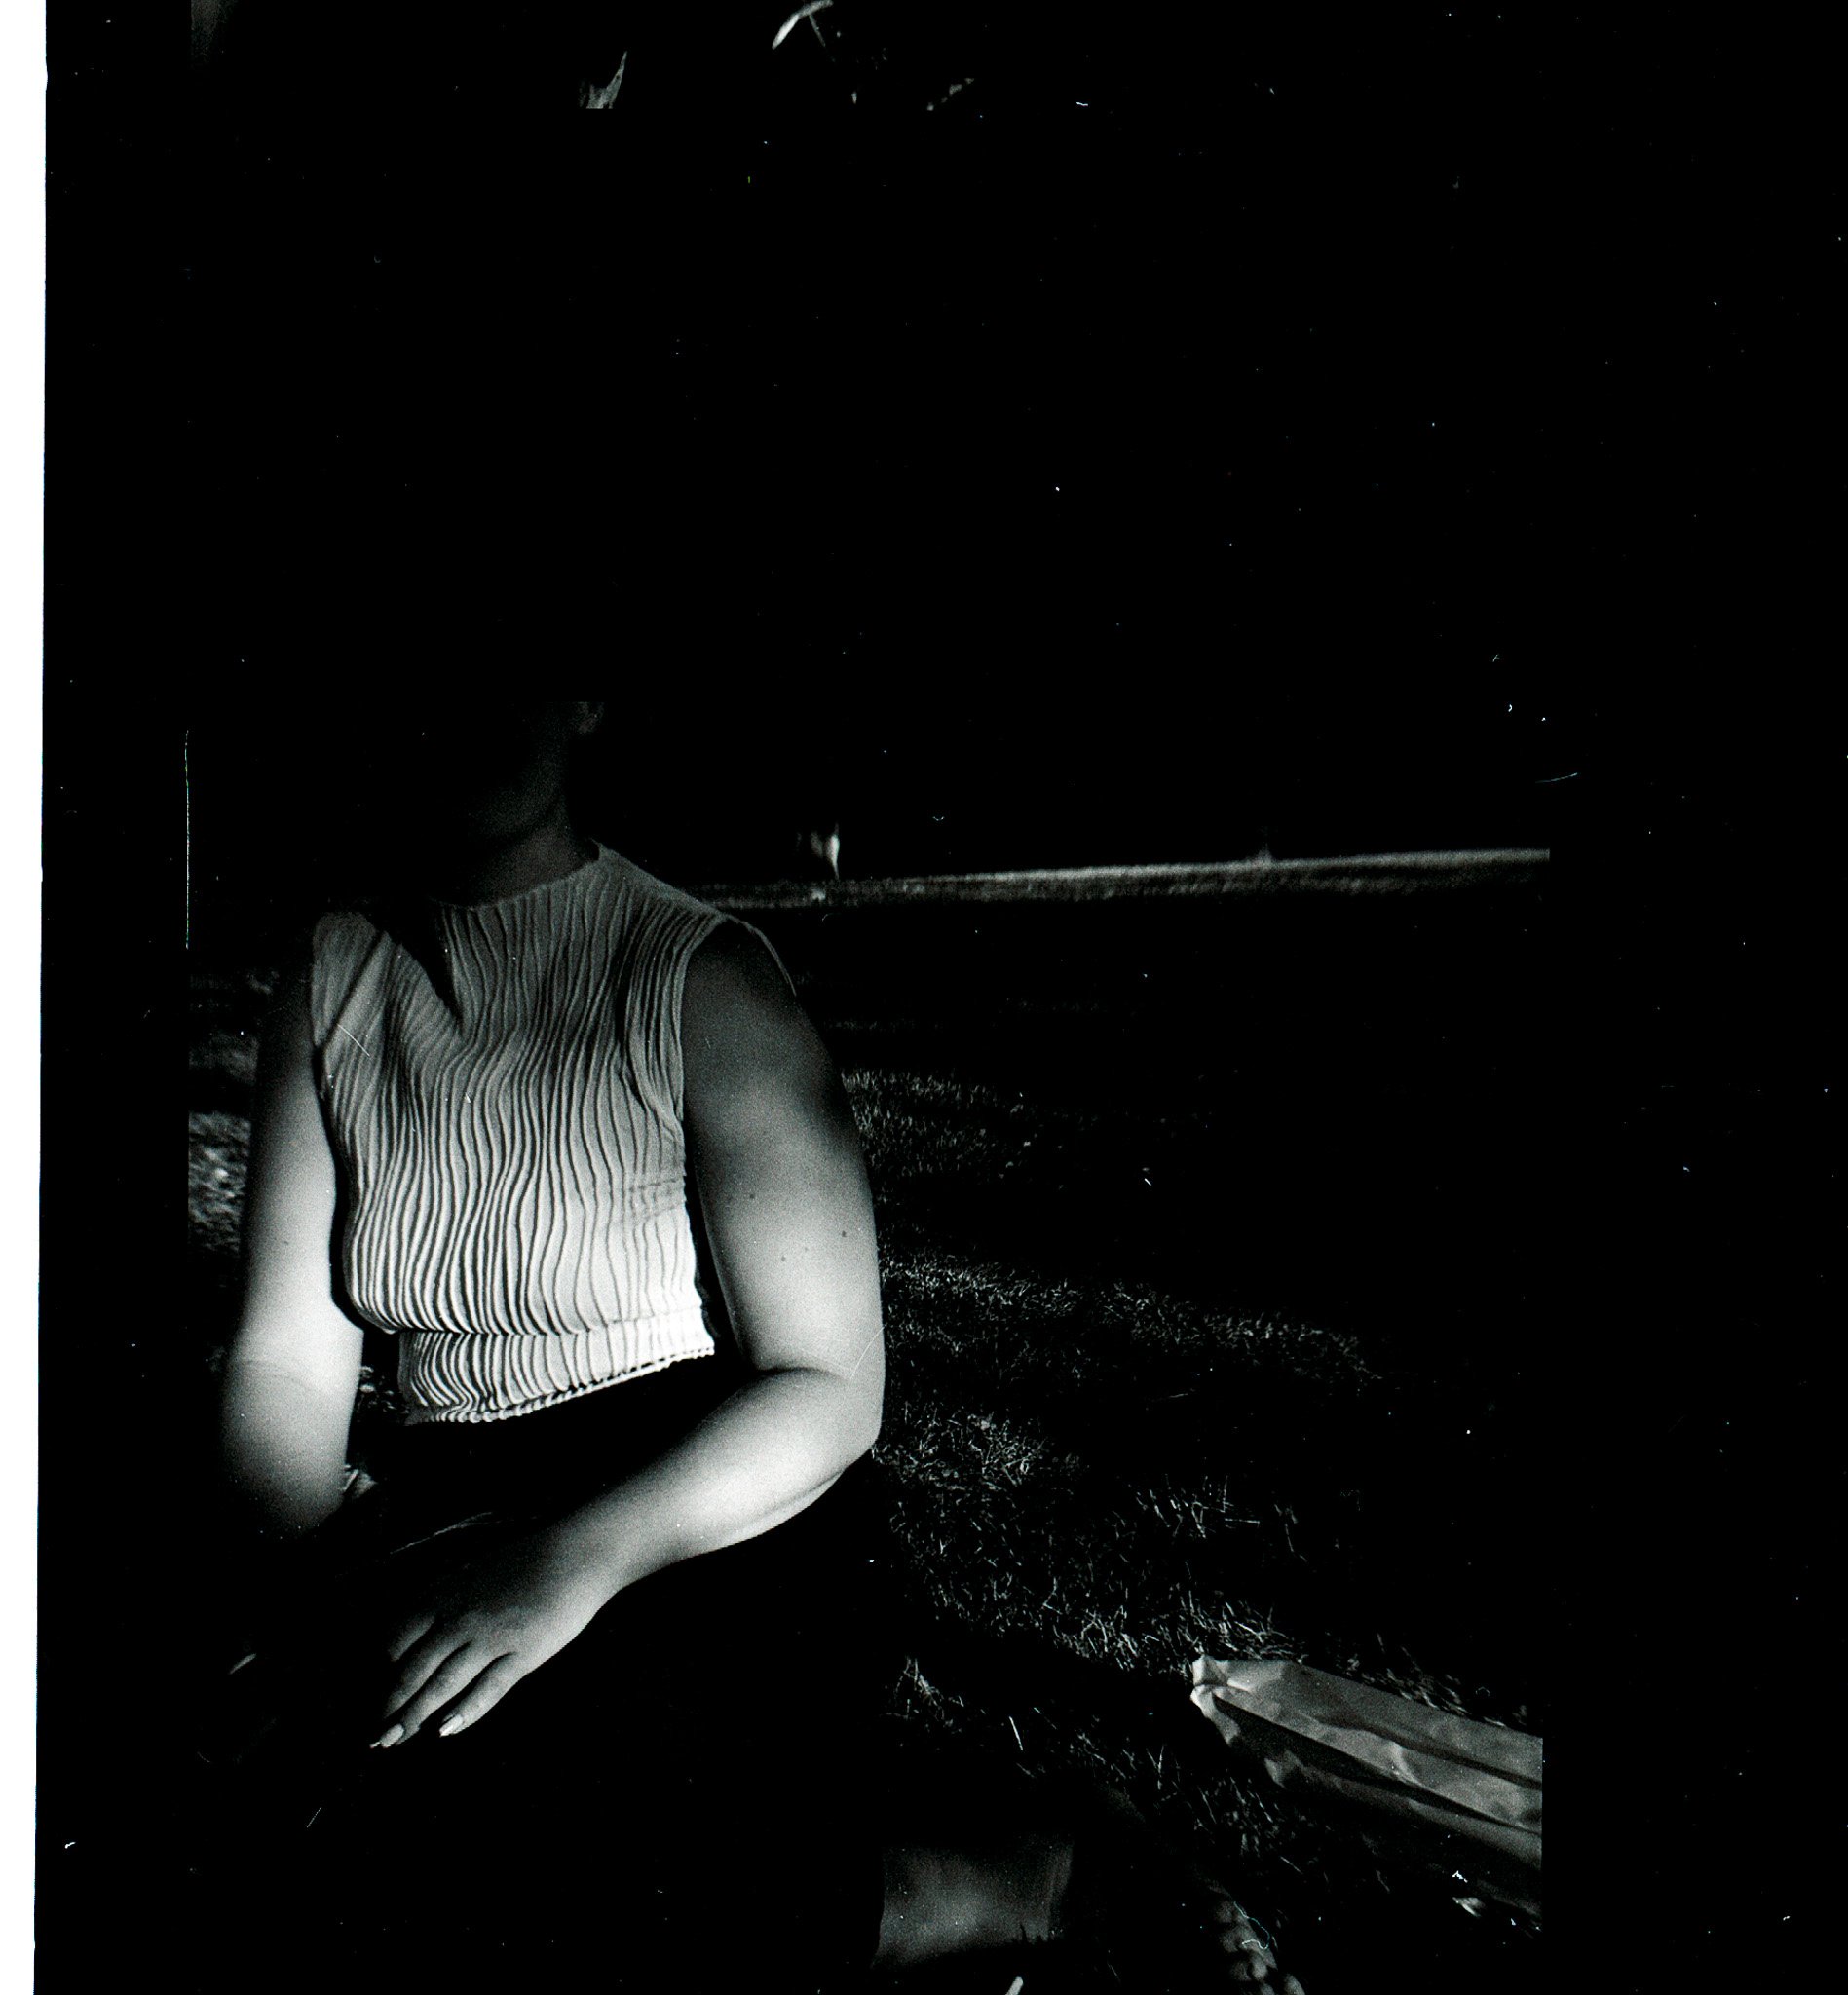
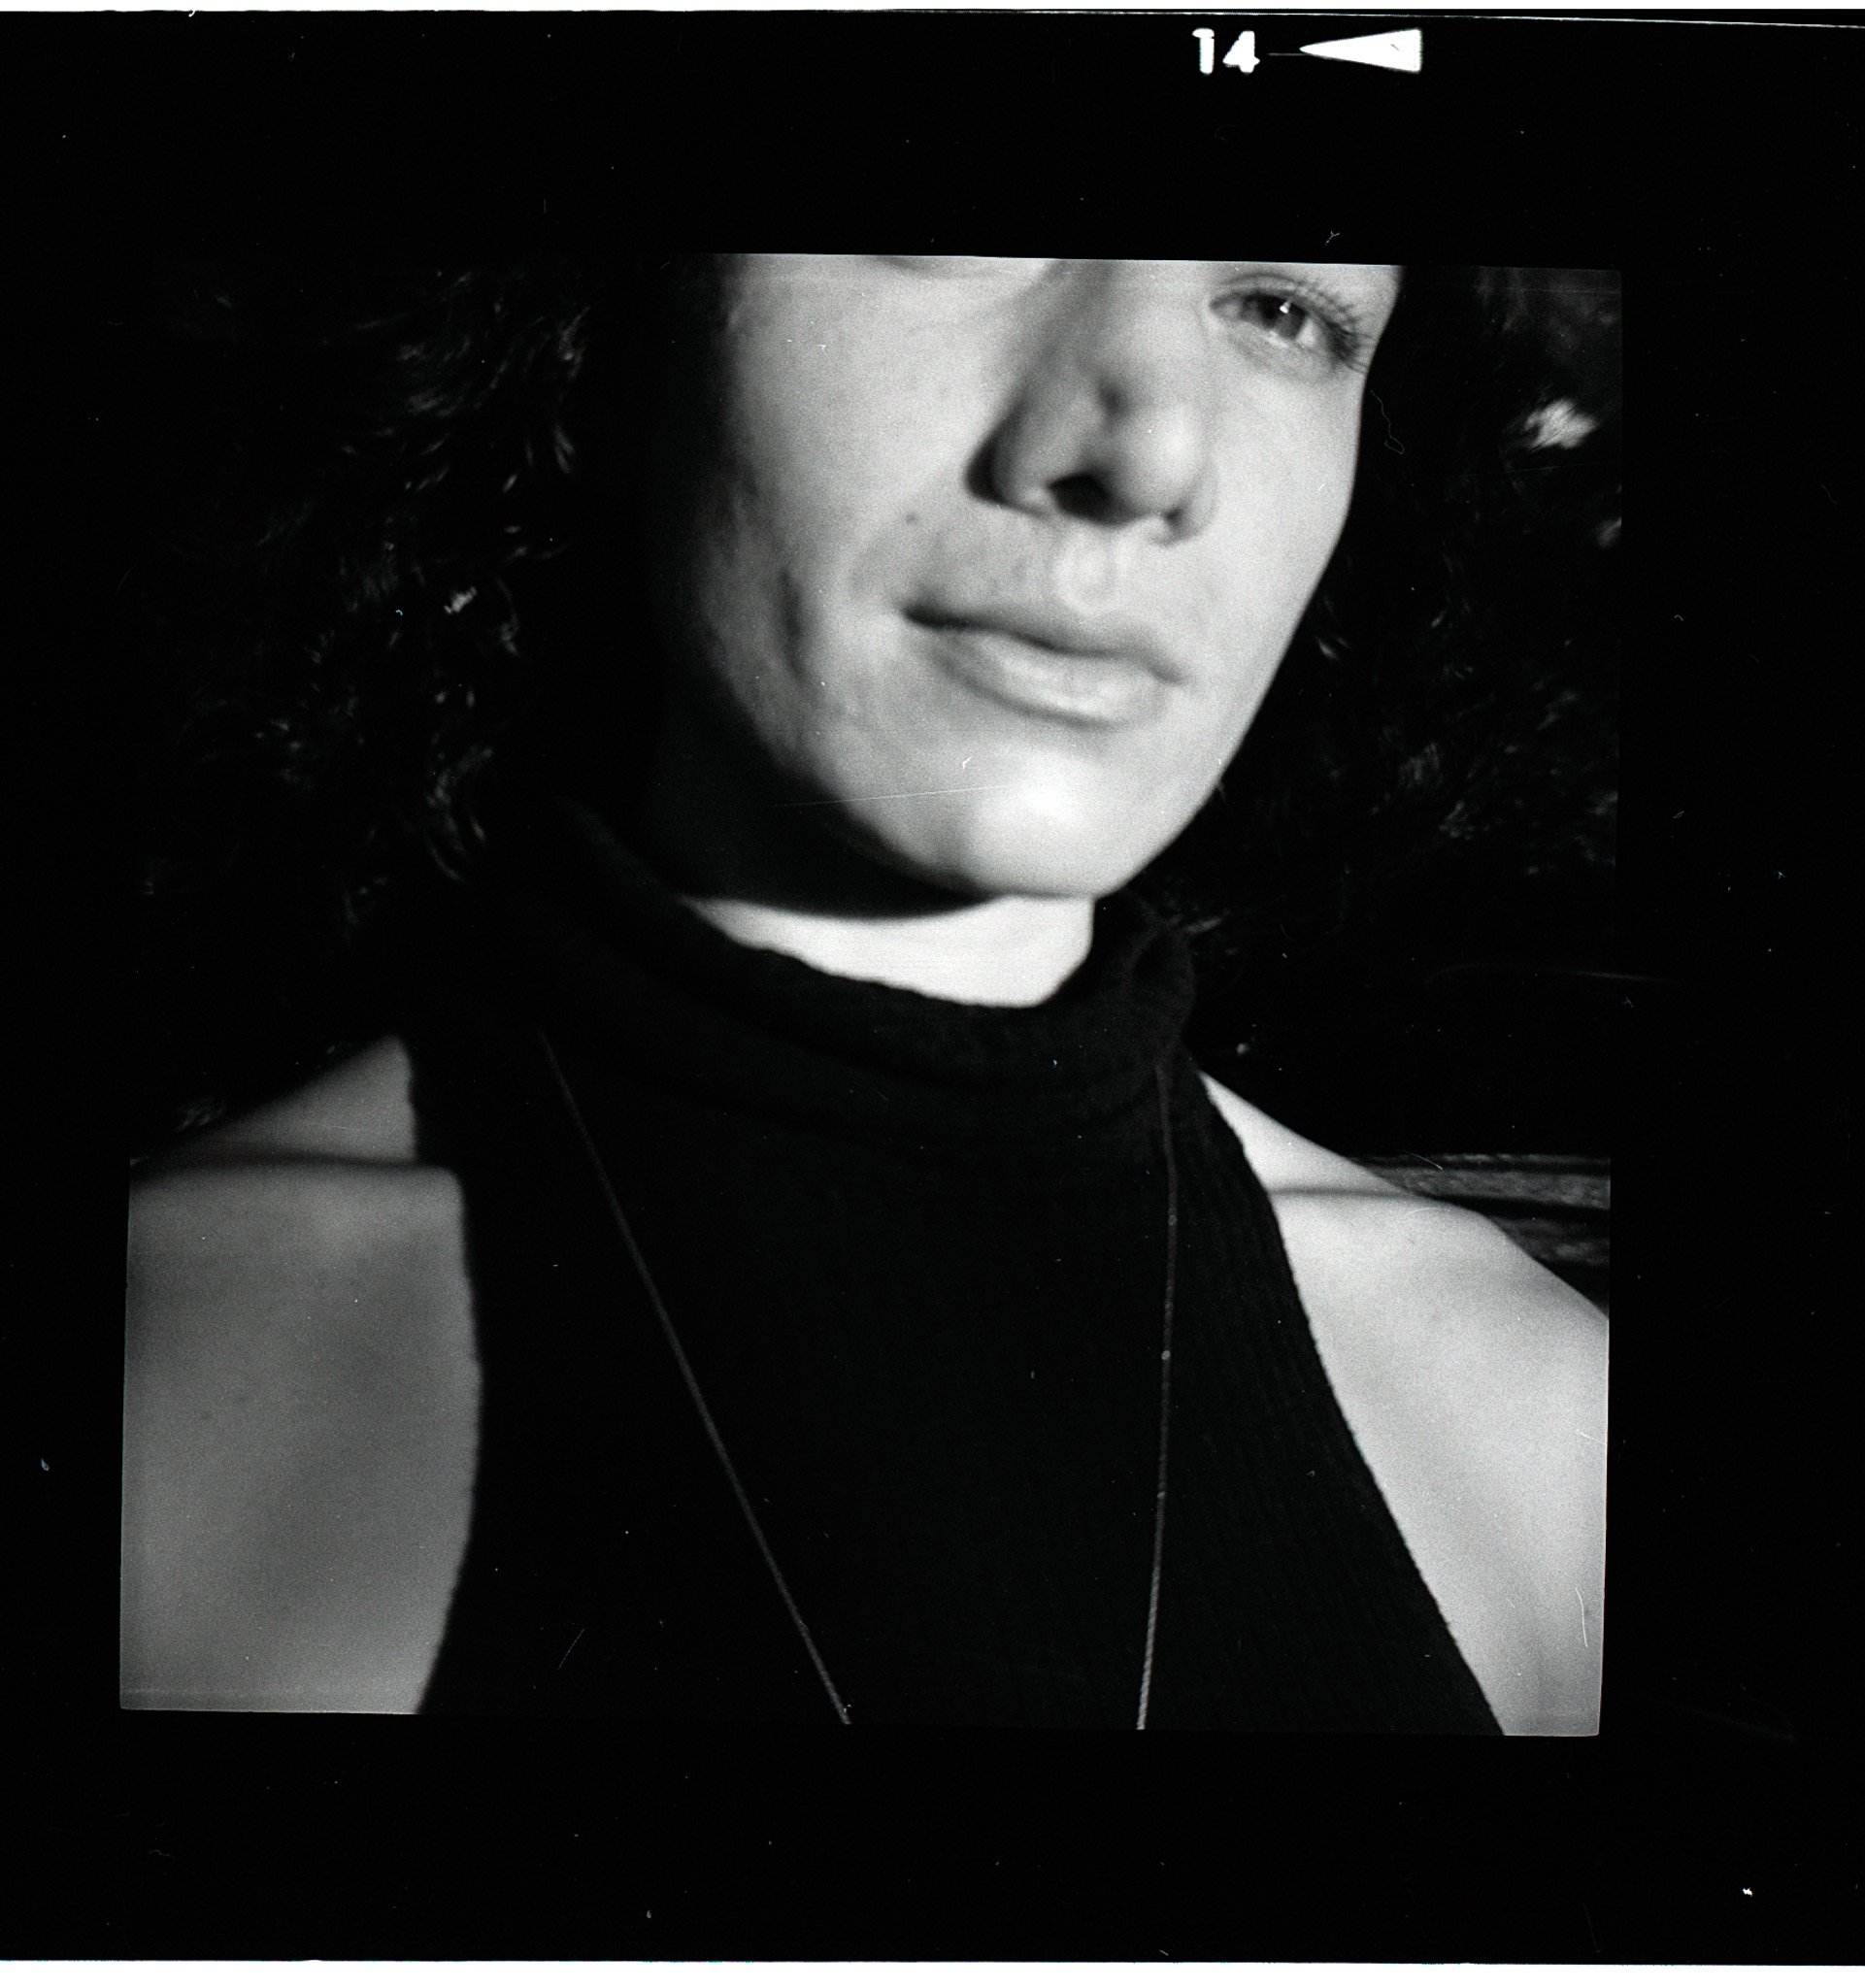
The Diana F+: A toy (crazy cheap) camera that shoots medium format film (120 mm instead of the more normal 35 mm). This camera creates a dreamlike result, with a slightly blurred composition. Try this camera to get your feet wet with medium format film.
Here’s some photos I took on the Diana F+:
Here are some tips to get the right exposure, which remain mostly the same from digital:
Shutter speed: It's like a blink of an eye for your camera. It's how long the camera's film is exposed to light. A fast shutter speed freezes motion, while a slow shutter speed creates blur. Be careful with camera shake (actually human shaking), and as a general rule of thumb, if you don't have a tripod, try to use a shutter speed that's at least as fast as the focal length of your lens. For example, on a 50 mm lens, shoot no slower than 1/50, on a 28 mm lens, shoot no slower than 1/30, etc.
ISO: It's like the sensitivity of your camera's sensor to light. A high ISO (800 and higher) lets you shoot in low light, but also adds noise or grain to your photos. A low ISO (200 and lower) is great for sunny days and gives you clean, crisp shots. And 400 can be considered the "Goldilocks" ISO – not too low, not too high, but just right for many shooting situations.
Aperture: It's like the pupil of your camera's eye. It's the opening in the lens that controls how much light enters the camera. A wide aperture (low f-stop number) creates a shallow depth of field, while a narrow aperture (high f-stop number) creates a deeper depth of field. Want to blur the background and create a dreamy look? Go wide (f/1.8 or f/2.8). Want everything in focus, from front to back? Go narrow (f/8 or f/11). But remember, the wider the aperture, the more light enters the camera, so you may need to adjust your other settings to avoid overexposure.
Intention and tips for experimenting with film types:
Shoot with intention: With a limited number of shots per roll, shooting on film forces you to be more deliberate with each shot. Take your time to think about the composition, lighting, and subject before taking the shot. Or throw caution to the wind and go out and experiment.
Experiment with different films: Each type of film has its own unique look and feel. Experiment to find the one that best suits your style and vision. At first, shooting on film is like going on a blind date – you never know what you're going to get! But that's part of the fun. Each film has its own unique characteristics, so try out different brands, speeds, and types to see what works best for your style and subject. Eventually, you’ll become familiar and begin to gravitate towards the aesthetics you’re seeking. Here are some of my favorites:
Ilford HP5: Want to channel your inner Ansel Adams but way cheaper? Try Ilford HP5. This black-and-white film has been a favorite of photographers for decades. The versatile speed (ISO 400), and high-quality results even in low-light situations. Ilford also sells a nice kit for developing black and white film at home.
Some shots I took on Ilford HP5:
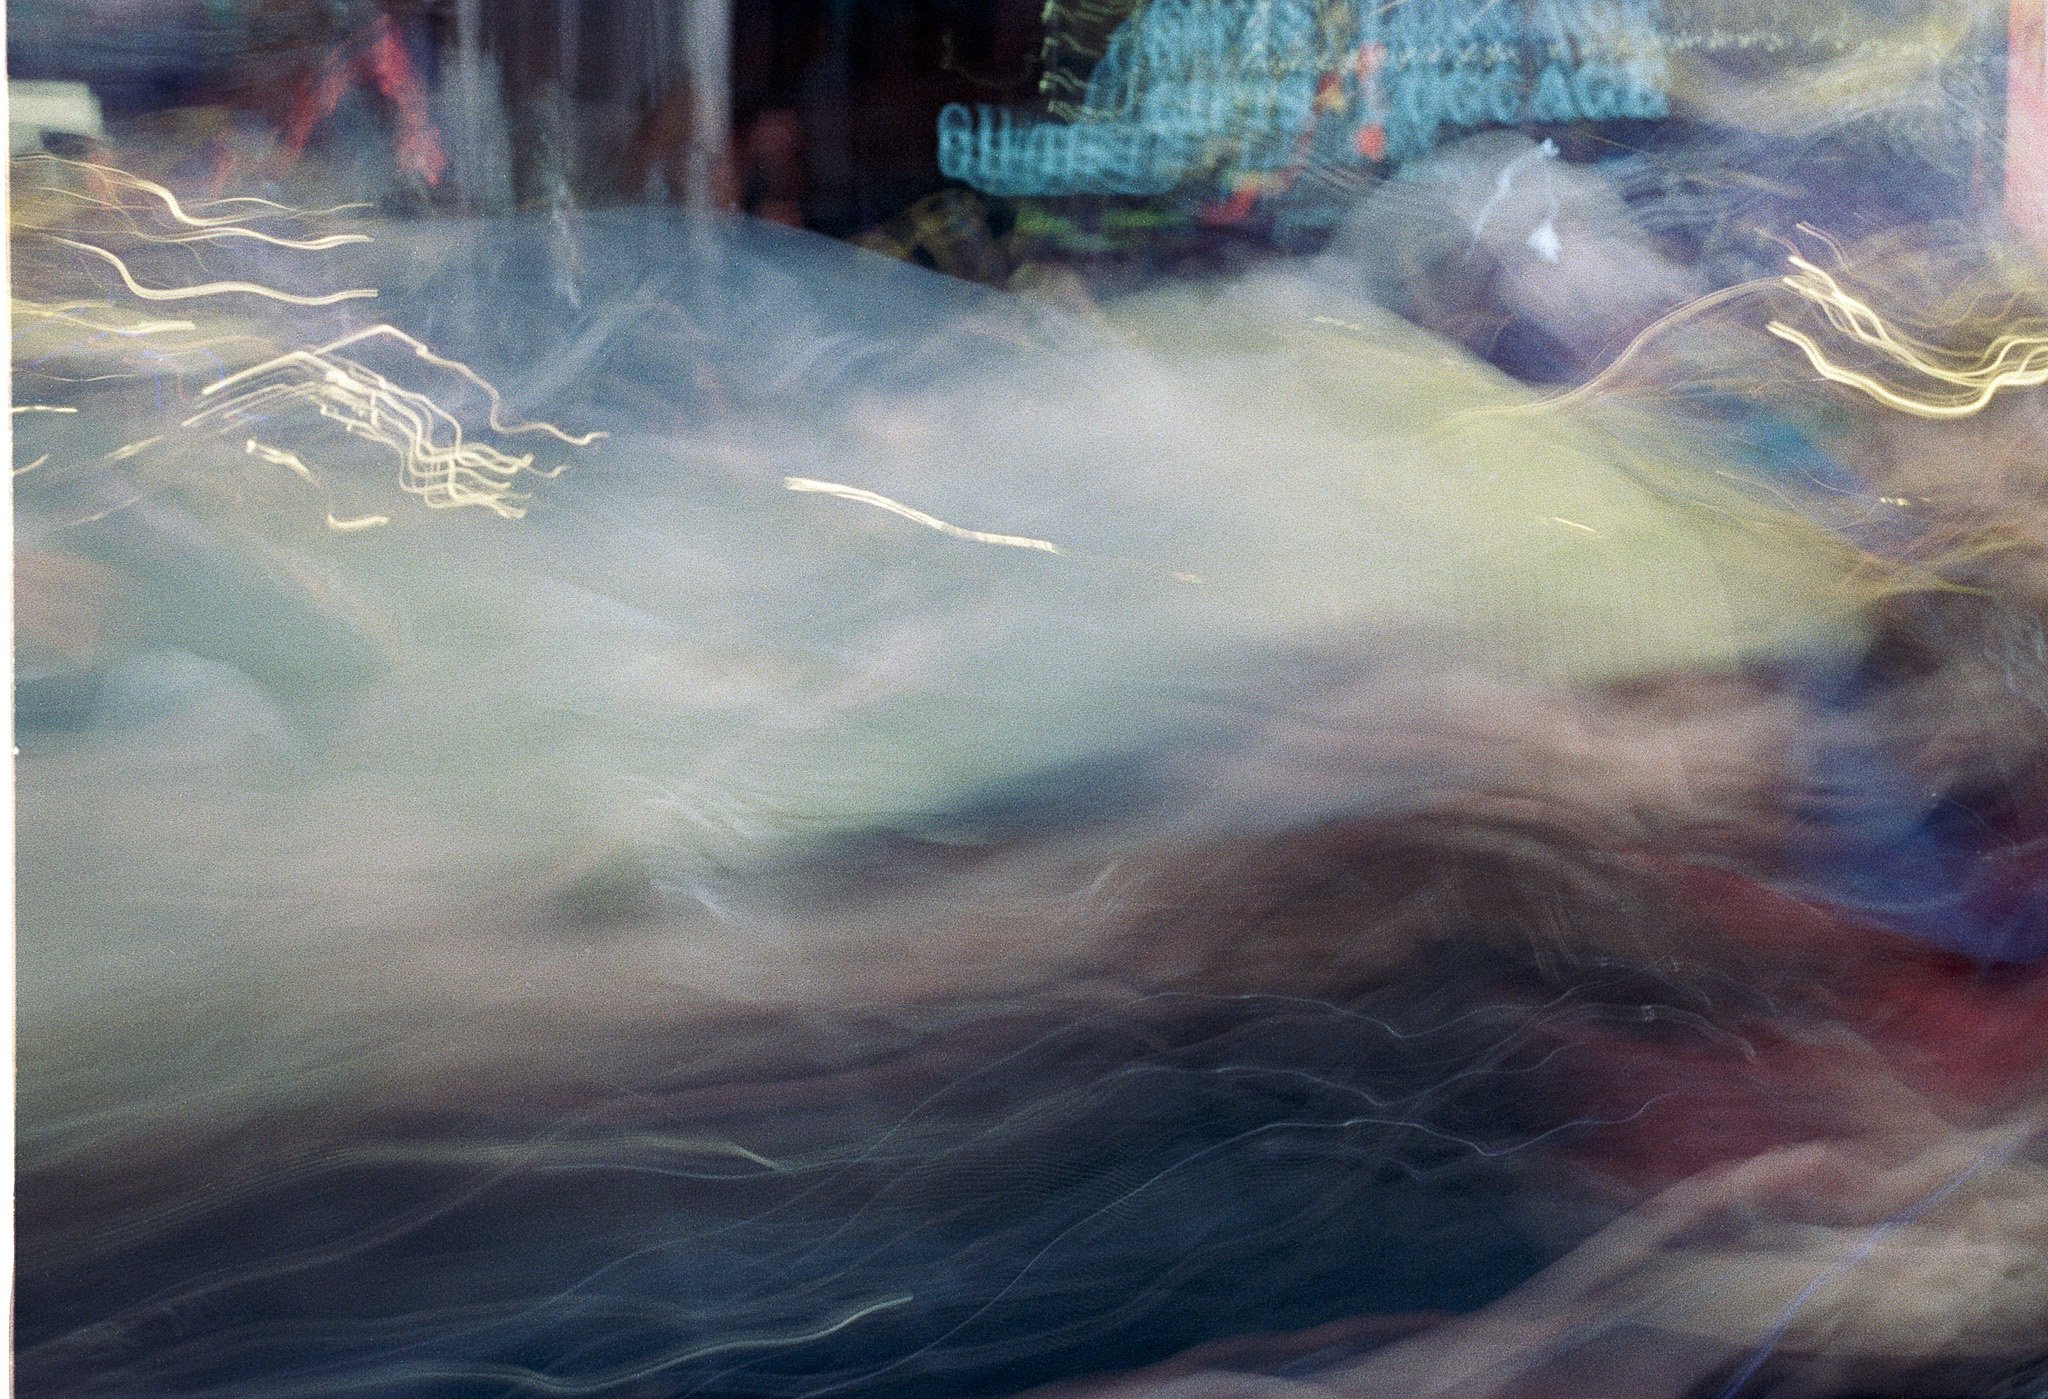
Cinestill 800T: A color film originally designed for motion picture cameras, this tungsten-balanced film is great at capturing nighttime cityscapes with a cinematic / artistic flair. If you’re going to shoot at night, remember to bring a tripod!
Fuji Superia: Want a color film that's as easy to use as it is affordable? Fuji Superia is the one for you. Available in a range of speeds from 100 to 1600, this color negative film is known for its consistent results, wide exposure latitude, and natural-looking colors.
Some shots I took on Fuji Superia 400:
Kodak Portra: Want to capture portraits that look like they belong in a magazine? Kodak Portra is your go-to film. This color negative film is prized for its beautiful skin tones, fine grain, and subtle colors that look great in a variety of lighting conditions. Available in speeds ranging from 160 to 800.
Some shots I took on Kodak Porta 400:
Caution: Beware of X-RAYs and CT scanner’s at airports and customs checkpoints. Older x-ray machines are generally safe for a few passes of low speed film, but the CT scanners will create noticeable defects on the first pass. Never put your unexposed film in checked luggage, always carry it on with you. And ask (kindly) to have your film checked by hand. I keep all of my film when traveling in clear ziplock bags by ISO speed and have always been able to get it hand checked all over the USA and in other countries.
Going Further
Develop your own film: Developing your own film can be a rewarding experience that allows you to have complete control over the final image. It also saves you money eventually. But if you're not ready for that, take your film to a professional lab.
Join a film photography community: There are many online communities and social media groups dedicated to film photography. Join one to connect with other film photographers, share your work, and get inspired. Or, join a class in your area!
Some
